If there’s one thing in home care that used to drive me completely crazy, it was the dark, dingy lines between my bathroom and kitchen floor tiles.
No matter how often I mopped or how fresh the floor smelled, those grout lines stayed stubborn, stained, and aged. It made the entire room look perpetually tired.
I spent months trying expensive store-bought chemical sprays that promised “instant magic.” Most of them left behind harsh chemical fumes, burned my skin, and barely lifted the underlying grime.
Finally, out of sheer frustration, I went back to a humble, time-tested home remedy: a thick homemade baking soda paste paired with a stiff-bristled detail brush.
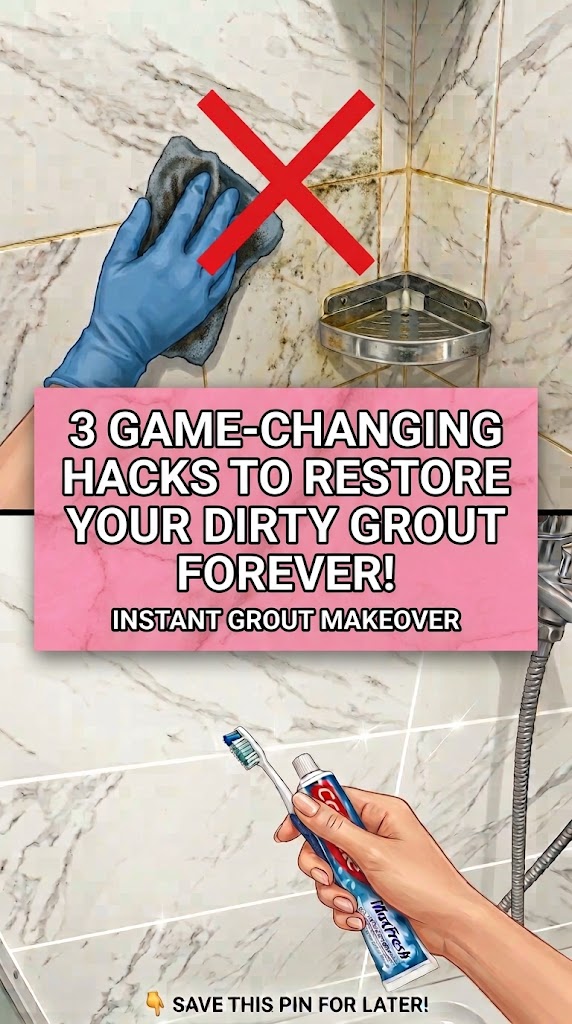
The result? My grout lines went from a dull, shadowy gray back to their original crisp finish. Best of all, it didn’t cost a fortune or require wearing a gas mask.
Here is my personal step-by-step guide on how to clean grout lines naturally and effectively.
Why Commercial Cleaners Often Fail on Tile Grout
Grout is essentially a porous mixture of sand and cement. Unlike smooth ceramic tiles, grout acts like a sponge—it absorbs dirt, spilled coffee, soapy residue, and moisture over time.
When you mop normally, the dirty water settles right into the sunken grout lines, sealing the grime even deeper into the pores.
To lift that trapped dirt, you need two things:
-
An alkaline agent to break down oils and grease without eroding the grout.
-
Mechanical friction to physically draw out embedded grime from the tiny pores.
A simple baking soda paste delivers both perfectly.
The Homemade Grout Restoration Paste (My Go-To Recipe)
You don’t need fancy tools or harsh chemicals. Here is the exact formula I use at home:
-
3 parts Baking Soda (acts as a mild abrasive and deodorizer)
-
1 part Hydrogen Peroxide or Dish Soap (hydrogen peroxide lifts stubborn discoloration, while dish soap cuts through grease)
-
A splash of warm water (just enough to form a thick, spreadable paste)
-
A stiff grout brush or firm toothbrush (grout brushes with angled bristles work wonders)
Step-by-Step: How I Clean My Tile Grout Lines
Step 1: Prep the Floor
Start by sweeping or vacuuming the area thoroughly. Removing loose dust and hair prevents you from scrubbing dirt back into the grout pores.
Step 2: Apply the Thick Paste
Spread a generous layer of the paste directly along the grout lines. Don’t skim on this—make sure the paste completely covers the discolored areas.
Step 3: Let It Sit (The Secret Ingredient is Time!)
This is the step most people skip: patience. Let the paste sit undisturbed for 10 to 15 minutes. This gives the alkaline baking soda time to break down organic buildup without you having to scrub with extreme force.
Step 4: Scrub in Small Circular Motions
Grab your stiff detail brush and scrub along the grout lines using firm, circular movements. You will see the paste turn from white to a murky gray as the trapped dirt lifts out.
Step 5: Wipe & Rinse
Wipe away the slurry using a damp microfiber cloth or sponge. Rinse your cloth frequently in clean water to ensure you aren’t leaving any baking soda residue behind.
My Top 3 Tips for Long-Lasting Clean Grout
-
Seal Your Grout Lines: Once your grout is completely dry and bright, apply a quality penetrating grout sealer. This creates a protective barrier so spills can’t soak in.
-
Ditch the String Mop: Flat microfiber mops are far better than traditional string mops because they don’t dump dirty water straight into the grout channels.
-
Deep Clean Every 6 Months: A quick 20-minute spot clean twice a year keeps heavy grime from accumulating in high-traffic zones.
Final Thoughts
Restoring your floor tiles doesn’t require a costly renovation or toxic chemicals. With just a handful of household staples, a good brush, and 20 minutes of elbow grease, you can make your floors look brand new again!
Thank You for Being Here! ❤️
Thank you so much for reading and taking care of your home with me! Keeping a clean space should be simple, safe, and satisfying.
📌 Love This DIY Tip? Pin It & Share the Love!
If this deep cleaning guide helped you refresh your tile floors, please take a moment to save and repost this pin on your Pinterest home care boards! Sharing helps other home lovers discover easy, natural cleaning solutions. Let’s keep our homes sparkling together! ✨